How to debug the machine for making disposable masks
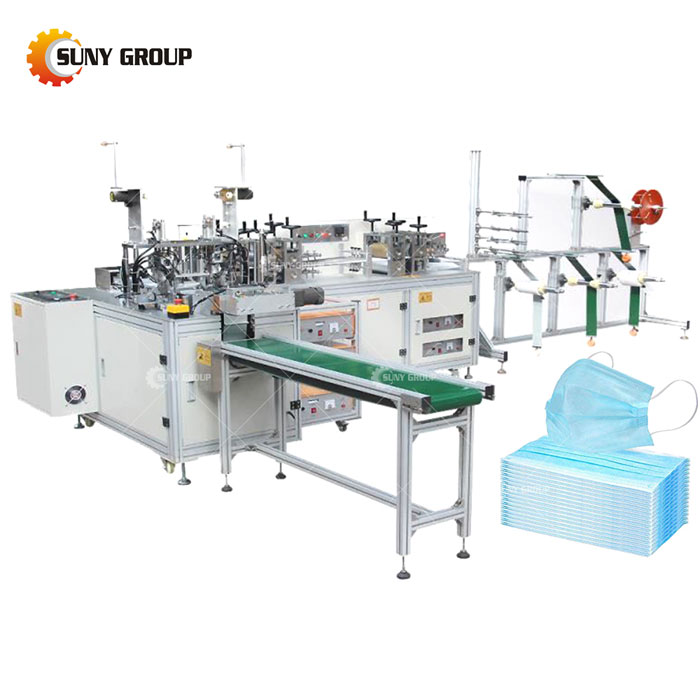
The following is the general debugging content of the disposable mask earband machine:
1. Turn on the start-stop switch and the power switch, and the built-in light of the power switch is on.
2. Adjust the air pressure: the air pressure valve is under the workbench, you can see the air pressure valve by opening the door of the equipment. Adjust the pressure according to the actual situation. When some mechanisms are not synchronized, increase the pressure. The working air pressure is generally adjusted within the range of 0.2~0.6MPa.
3. Sound wave inspection and adjustment: (when the equipment is stopped)
(1) Turn on the power switch of the ultrasonic generator and press the "Sound Wave Test" switch. If the amplitude indicator indicator rises sharply and exceeds 100, it means that the frequency is too far from the resonance point and the "Sound Wave Adjustment" knob must be adjusted. Look at the amplitude display, press the "Sound Wave Inspection" check switch with the left hand (not more than 3 seconds), and turn the "Sound Wave Adjustment" knob with the right hand to adjust the pointer of the amplitude display to the lowest point. When adjusting, if the amplitude indicator indicator does not fall but rises, turn the "sound wave adjustment" knob in the opposite direction. The reading of the amplitude indicator indicator is within 50, and the reading of the ammeter indicator is below 0.6A, which is the best working condition. After adjusting the sound wave, tighten the butterfly nut and close the protective cover.
(2) During the no-load test, if the "overload indicator light" is on, it means there is a problem with the equipment. At this time, it is not allowed to start work, you must shut down and check the cause, and then start work after troubleshooting.
Fourth, the inspection of the cooling fan: check whether the cooling fan is working normally to ensure that the ultrasonic transducer can work for a long time when it is working.
5. Check the pneumatic parts:
(1) Turn on the power, connect the gas path, and switch the manual and automatic switch to manual gear.
(2) Turn on the feeder switch and check whether the feeder can run quickly and stably and is positioned accurately. Turn off the feeder switch after checking
(3) Turn on the mask clamping fixture switch to check whether the mask clamping fixture is operating normally. Turn off the mask clamping fixture switch after checking.
(4) Turn on the switch of the collecting cylinder and check whether the collecting cylinder is operating normally. Turn off the collector cylinder switch after checking.
(5) Turn on the sideband fusion switch to see if the sideband die can be pressed down normally.
(6) Turn on the right switch of the ear strap to see if the rotating cylinder on the right moves and moves in place.
(7) Turn on the turn left switch of the ear strap to see if the rotating cylinder on the left moves and moves in place.
(8) Turn on the ear strap cutting switch and check whether the ear strap cutting cylinder is working and can reach the designated cutting position.
(9) Turn on the ear strap return switch, check whether the ear strap return small cylinder can work normally, and the ear strap clip can be loosened.
(10) Turn on the ear strap welding switch and check whether the ear strap pressure mold can work and reach the designated position.
Recommend products
CONTACT US:
If you have any requirement or suggestion, please fill in the form and send to us, thanks!E-mail:sunymachine@gmail.com | Whatsapp:+8613674945231


